Making beaded jewelry is a fun hobby. You can make cool pieces for yourself or even sell them. Learning a few key skills helps you create awesome jewelry. At LANCUI, we make top-notch, handmade jewelry. We offer OEM and ODM services to brands all over the world. Our mix of old-school crafting and new ideas helps jewelry brands shine. In this guide, we’ll share the top 5 beading techniques every beginner needs. These will give you a strong start in this fun craft.

1. Bead Stringing
What is Bead Stringing?
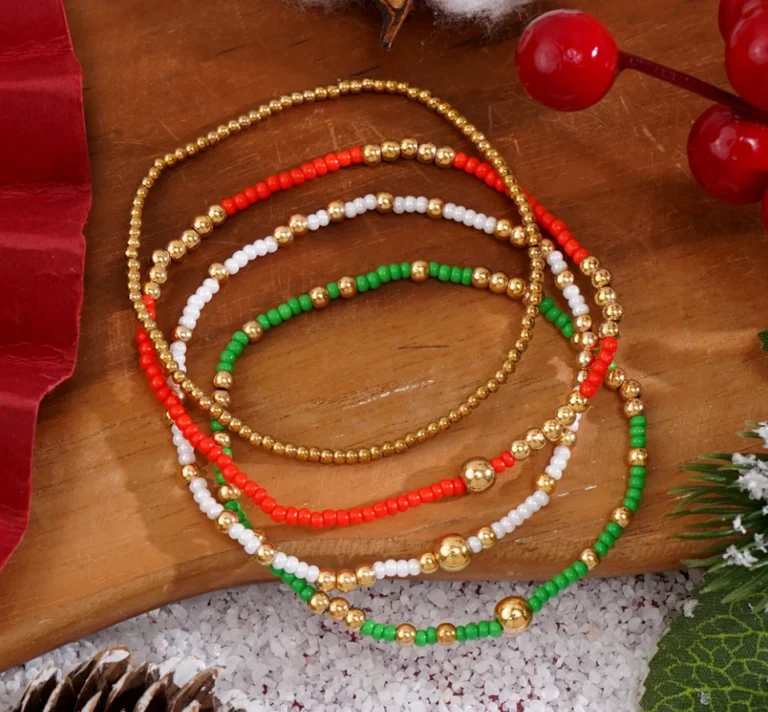
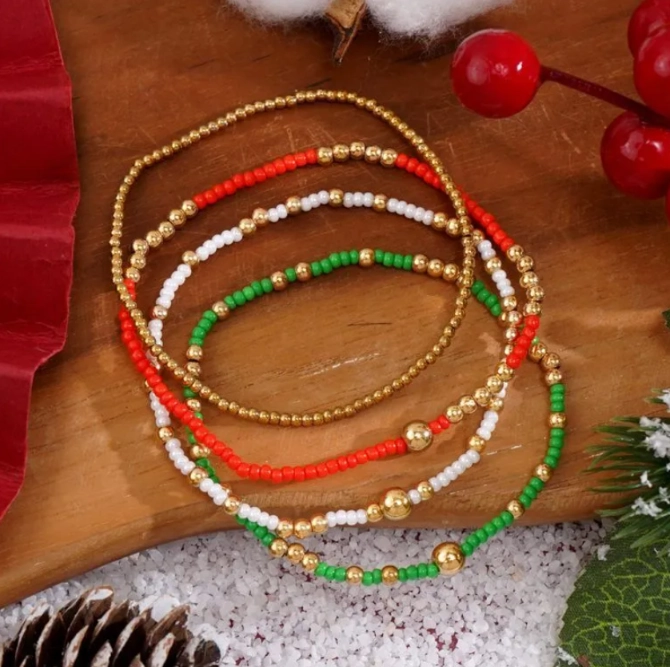
Bead stringing is the easiest way to start making jewelry. You thread beads onto a wire or cord. This makes necklaces, bracelets, or other cool stuff. It’s simple but lets you get really creative. You can make a plain piece or a fancy one with lots of patterns.
Basic Tools Required
To start bead stringing, you need:
- Beading wire or cord
- Crimp beads
- Clasps
- Pliers (for squishing crimp beads)
- Scissors
Step-by-Step Guide
- Cut your beading wire to the right length. Add extra at both ends for clasps.
- Thread your beads in any order you like. Try different patterns!
- When all beads are on, add crimp beads at both ends to hold the clasps.
- Use pliers to squeeze the crimp beads tight. This keeps your jewelry safe.
Tips for Success
- Pick strong beading wire, like 49-strand wire. It’s tough and bends well.
- Try beads like glass, wood, or pretty stones. They add fun textures.
- Leave a little space between beads. This lets your jewelry move and feel comfy.
- Check your clasps to make sure they’re secure. You don’t want your necklace falling apart!
- Practice with cheap beads first. This helps you get the hang of it without wasting fancy ones.
Why It’s Great for Beginners
Bead stringing is quick to learn. You can make a necklace in one afternoon! It’s also cheap since you don’t need many tools. At LANCUI, we use bead stringing for lots of our designs. It’s a great way to start your jewelry-making adventure.
2. Peyote Stitch
Understanding Peyote Stitch
Peyote stitch is a cool bead weaving trick. It makes a smooth, bumpy pattern. You see it in cuffs, bracelets, and other neat jewelry. The beads line up in a zigzag way, which looks awesome and feels nice.
Materials Needed
- Seed beads (tiny beads work best)
- Needle and thread
How to Create a Peyote Stitch
- Thread a bunch of beads onto your thread. This is your first row.
- Pass your needle through the second bead to start the next row.
- Add a new bead and weave it through the next bead in the first row.
- Keep going, adding beads and weaving to make the zigzag pattern.
- Continue until your piece is the right length. Keep the thread tight but not too tight.
Common Mistakes to Avoid
- Don’t pull the thread too loose or too tight. It makes the rows uneven.
- Check your bead placement. Skipping a bead can leave gaps.
- Don’t worry if it’s not perfect at first. Practice makes it better!
- Use a thin needle to make threading easier. Thick ones can get stuck.
- Count your beads carefully to keep the pattern even.
Why It’s Great for Beginners
Peyote stitch looks tricky but is easy once you try it. You can make wide bracelets or small rings. It’s fun to mix colors for cool designs. LANCUI loves this stitch for its pretty, textured look. With practice, you’ll make awesome pieces in no time.
3. Brick Stitch
Introduction to Brick Stitch
Brick stitch is another bead weaving trick. It makes a pattern that looks like stacked bricks. It’s great for bold, boxy designs in earrings, pendants, or bracelets. This stitch gives your jewelry a modern, neat vibe.
Tools and Beads Required
- Seed beads or other small beads
- Needle and thread
Step-by-Step Instructions
- Make a base row by stringing beads.
- Attach the first bead of the next row. Pass your needle through the top of the base row.
- Add more beads to build the next row. Place them like bricks in a wall.
- Keep going until your piece is the size you want.
Applications in Jewelry Making
Brick stitch is awesome for geometric shapes. You can make triangle earrings or square pendants. It’s strong, so your jewelry holds up well. At LANCUI, we use brick stitch for bold, trendy pieces. It’s perfect if you like clean, modern looks.
Tips for Beginners
- Use the same size beads for a neat pattern.
- Keep your thread tight to avoid wobbly rows.
- Try mixing colors to make your design pop.
- Start with a small project, like earrings, to practice.
- Watch your tension so the piece stays flat.
4. Right-Angle Weave (RAW)
What is Right-Angle Weave?
Right-angle weave, or RAW, is a fun weaving trick. Beads are placed at right angles to make a strong, 3D shape. It’s great for bracelets, necklaces, or even fancy designs like beaded boxes. This stitch makes your jewelry look solid but flexible.
Necessary Materials
- Seed beads or cube beads
- Needle and thread
RAW Technique Explained
- Thread four beads to make a square. This is your first right angle.
- Pass your needle through the beads to lock the square in place.
- Add more beads to form new squares. Connect them to the first square.
- Keep building squares to make your design bigger.
Creative Uses in Designs
RAW is great for textured pieces. You can make stretchy bracelets or stiff necklaces. It’s also cool for 3D stuff like little beaded sculptures. LANCUI uses RAW for unique, eye-catching jewelry. It’s a bit tricky but super rewarding.
Tips for Beginners
- Start with big beads to see the pattern clearly.
- Keep your squares tight for a strong piece.
- Use bright thread to spot mistakes easily.
- Practice on a small piece first, like a ring.
- Be patient—it takes time to get the hang of RAW.
5. Wire Wrapping
Basics of Wire Wrapping
Wire wrapping uses wire to hold beads or stones together. It’s perfect for rings, pendants, or earrings. You can make all kinds of cool shapes. This technique lets you get super creative with your designs.
Essential Tools and Materials
- Wire (like copper, silver, or gold)
- Beads or stones
- Round nose pliers, flat nose pliers, wire cutters
How to Wire Wrap Beads
- Cut a piece of wire. Slide a bead or stone onto it.
- Make a loop around the bead. Wrap the wire around the base to hold it.
- Use pliers to twist the wire tight. This keeps the bead in place.
- Cut extra wire. Tuck the ends with flat nose pliers for a clean look.
Tips for Neat and Secure Wrapping
- Wrap the wire tightly so nothing wiggles.
- Try simple loops first, then fancier twists.
- Use soft wire for practice—it’s easier to bend.
- Keep your tools handy to make clean cuts.
- Check that the ends are tucked so they don’t poke.
Why It’s Great for Beginners
Wire wrapping is fun because you can make cool stuff fast. You don’t need tons of tools, and mistakes are easy to fix. At LANCUI, we use wire wrapping for shiny, custom pieces. It’s a great way to make jewelry that looks pro.
Additional Techniques to Explore
Square Stitch
Square stitch makes flat, grid-like patterns. It’s awesome for solid pieces like belts or wide cuffs. You weave beads in a square shape, which looks clean and strong.
Ladder Stitch
Ladder stitch connects beads in a straight line. It’s simple to create.
Fringe Techniques
Fringe techniques are great for earrings or pendants that catch the light. You can make them short or long for different vibes.
Why Try These Extras?
These extra stitches give you more ways to play with beads. They’re easy to learn after you master the main five. At LANCUI, we mix these techniques to make unique pieces. Try them to find your favorite style.
Conclusion
Learning bead stringing, peyote stitch, brick stitch, right-angle weave, and wire wrapping gives you a great start in jewelry making. These skills help you make beautiful, pro-looking pieces. Whether you’re crafting for fun or starting a business, these techniques are key. At LANCUI, we support you with top-quality services. We help bring your ideas to life with our crafting know-how.
FAQ
Q1. Can I sell jewelry I make using these techniques?
A: Yes! Lots of people sell jewelry made with these skills. With practice and cool designs, you can turn your hobby into a fun business. LANCUI helps brands create sellable pieces.
Q2. How long does it take to learn these techniques?
A: It depends on how much you practice. Bead stringing is quick—maybe a day or two. Stitches like peyote or RAW take a week or two to get good at. Keep trying, and you’ll improve fast!
Q3. What’s the best technique for beginners?
A: Bead stringing is the easiest to start with. It’s simple, needs few tools, and you can make cool stuff right away. Try it first, then move to stitches like peyote or brick.
Blog分类:Design